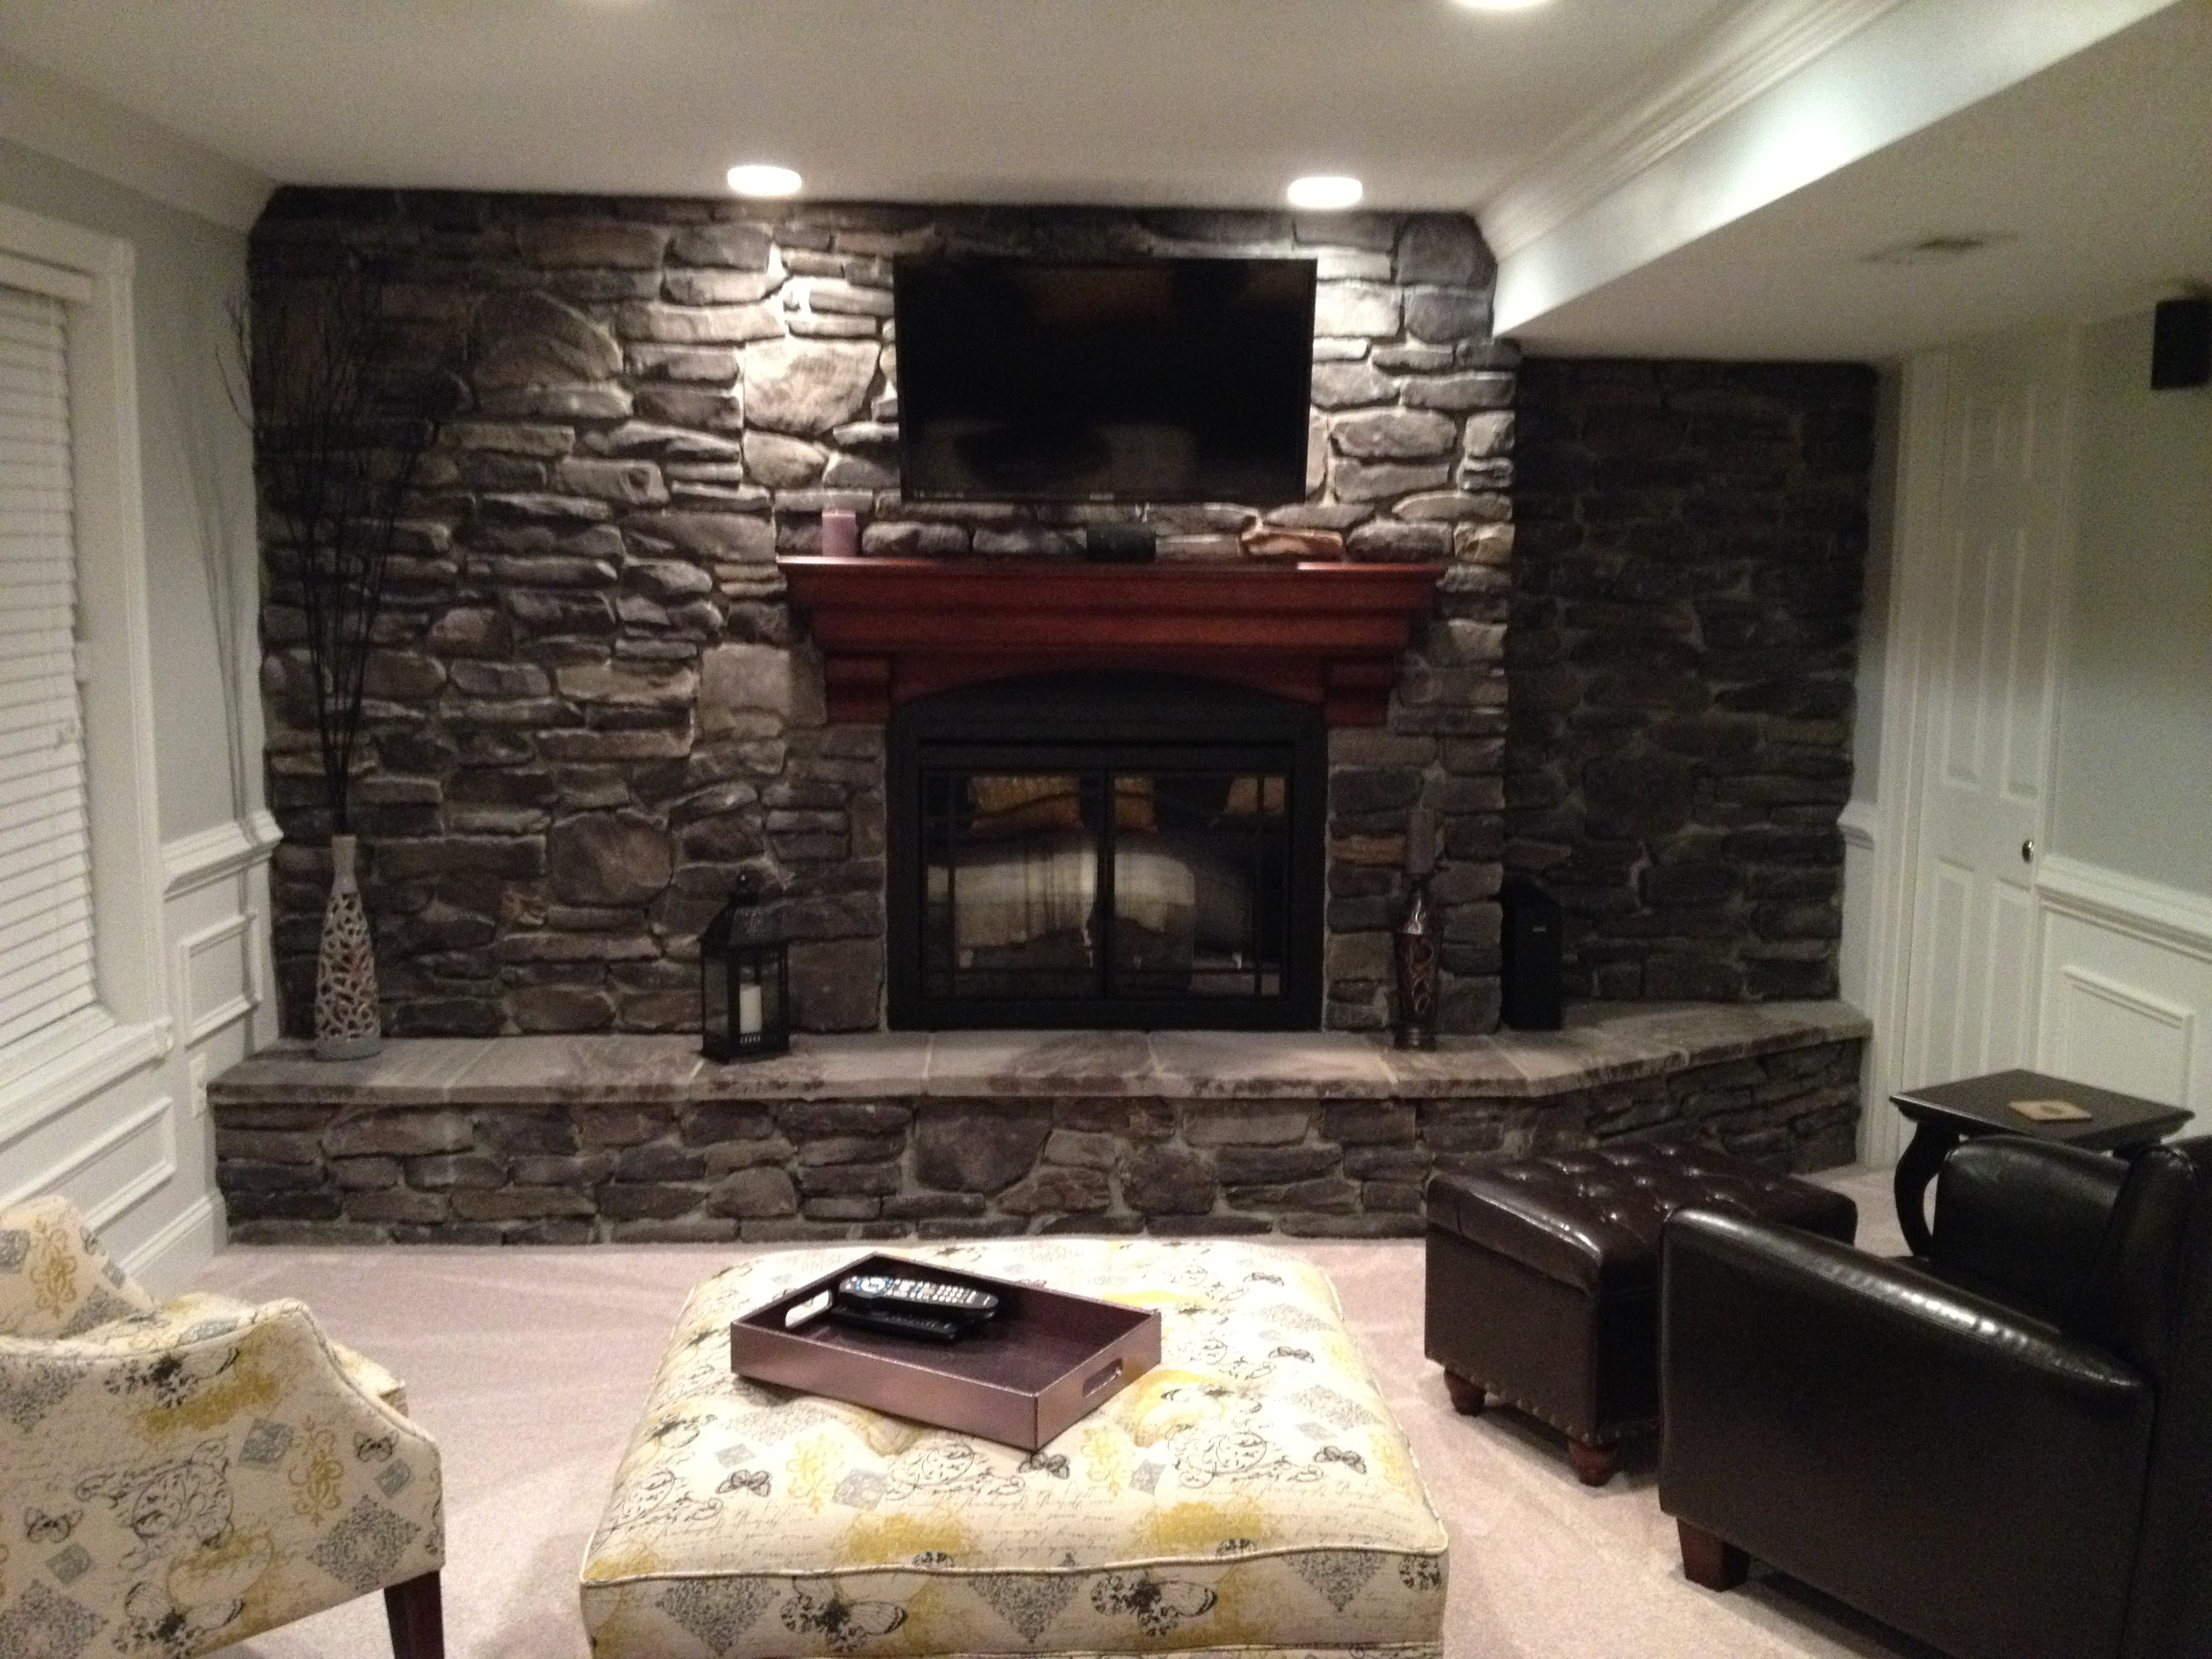
Fireplace in a Basement
I finished this basement about 15 years ago. This room was finished as a playroom for children. The owners are friends of mine and asked me to come back and upgrade the room into a "Parent Cave". This turned out to be very easy.
This was a plain sheetrock room with a bulkhead running along the left wall. When I orifinally finished this room a put a little niche to the right outside the picture where the stairway left an interesting space for such a thing. The door visible on the right is the only entrance into a small storage area. Having to keep the door in that spot played a role in the final outcome.
Step 1: wire the fireplace and TV. We used a ventless electric fireplace so we did not have to cut holes for exhaust. This greatly simplified the job. I used CPVC pipe to push wire (10-3) through the bulkhead to the opposite wall where I also used the pipe to push the wire behind the wall to the electric panel.
I used the niche by the stairway as the location for cable box and DVD/Blue Ray player. I ran a HDMI pair through the same bulkhead to a media box positioned behind the TV. I also put electricity to that same box.
Step 2: build the fireplace bumpout and hearth. The bumpout is 24" from the back wall. The hearth is 16" above the floor. This is just typical framing like for sheetrock. Over the framing I put 3/4" particle board, which I covered in roofing felt, from the bottom up, to shed water.
Then attach metal lathe, cupped up with roofing nails, and then covered it with about an inch of mortar. Before the mortar dried I used a notched trowel to put horizontal grooves in the mortar. This I let dry for a couple days.
Step 3: Install the fireplace and mantle.
Step 4: Put the stone on. We found manufactured stone for the wall and hearth stone at the nearby stone yard. Put the hearth in place first, cover it with cardboard, then work from the bottom up, and from the outside corner, with the stones. Use a slightly soupy mortar mix and simply butter the back of each stone and stick it on. With the varying lengths and widths it can actually turn into an artform.
Step 5: Mortar the cracks. Get a "Bakers Bag" and push the mortar into the larger gaps. In our case we wanted deep spaces between the stones so the task went quick.
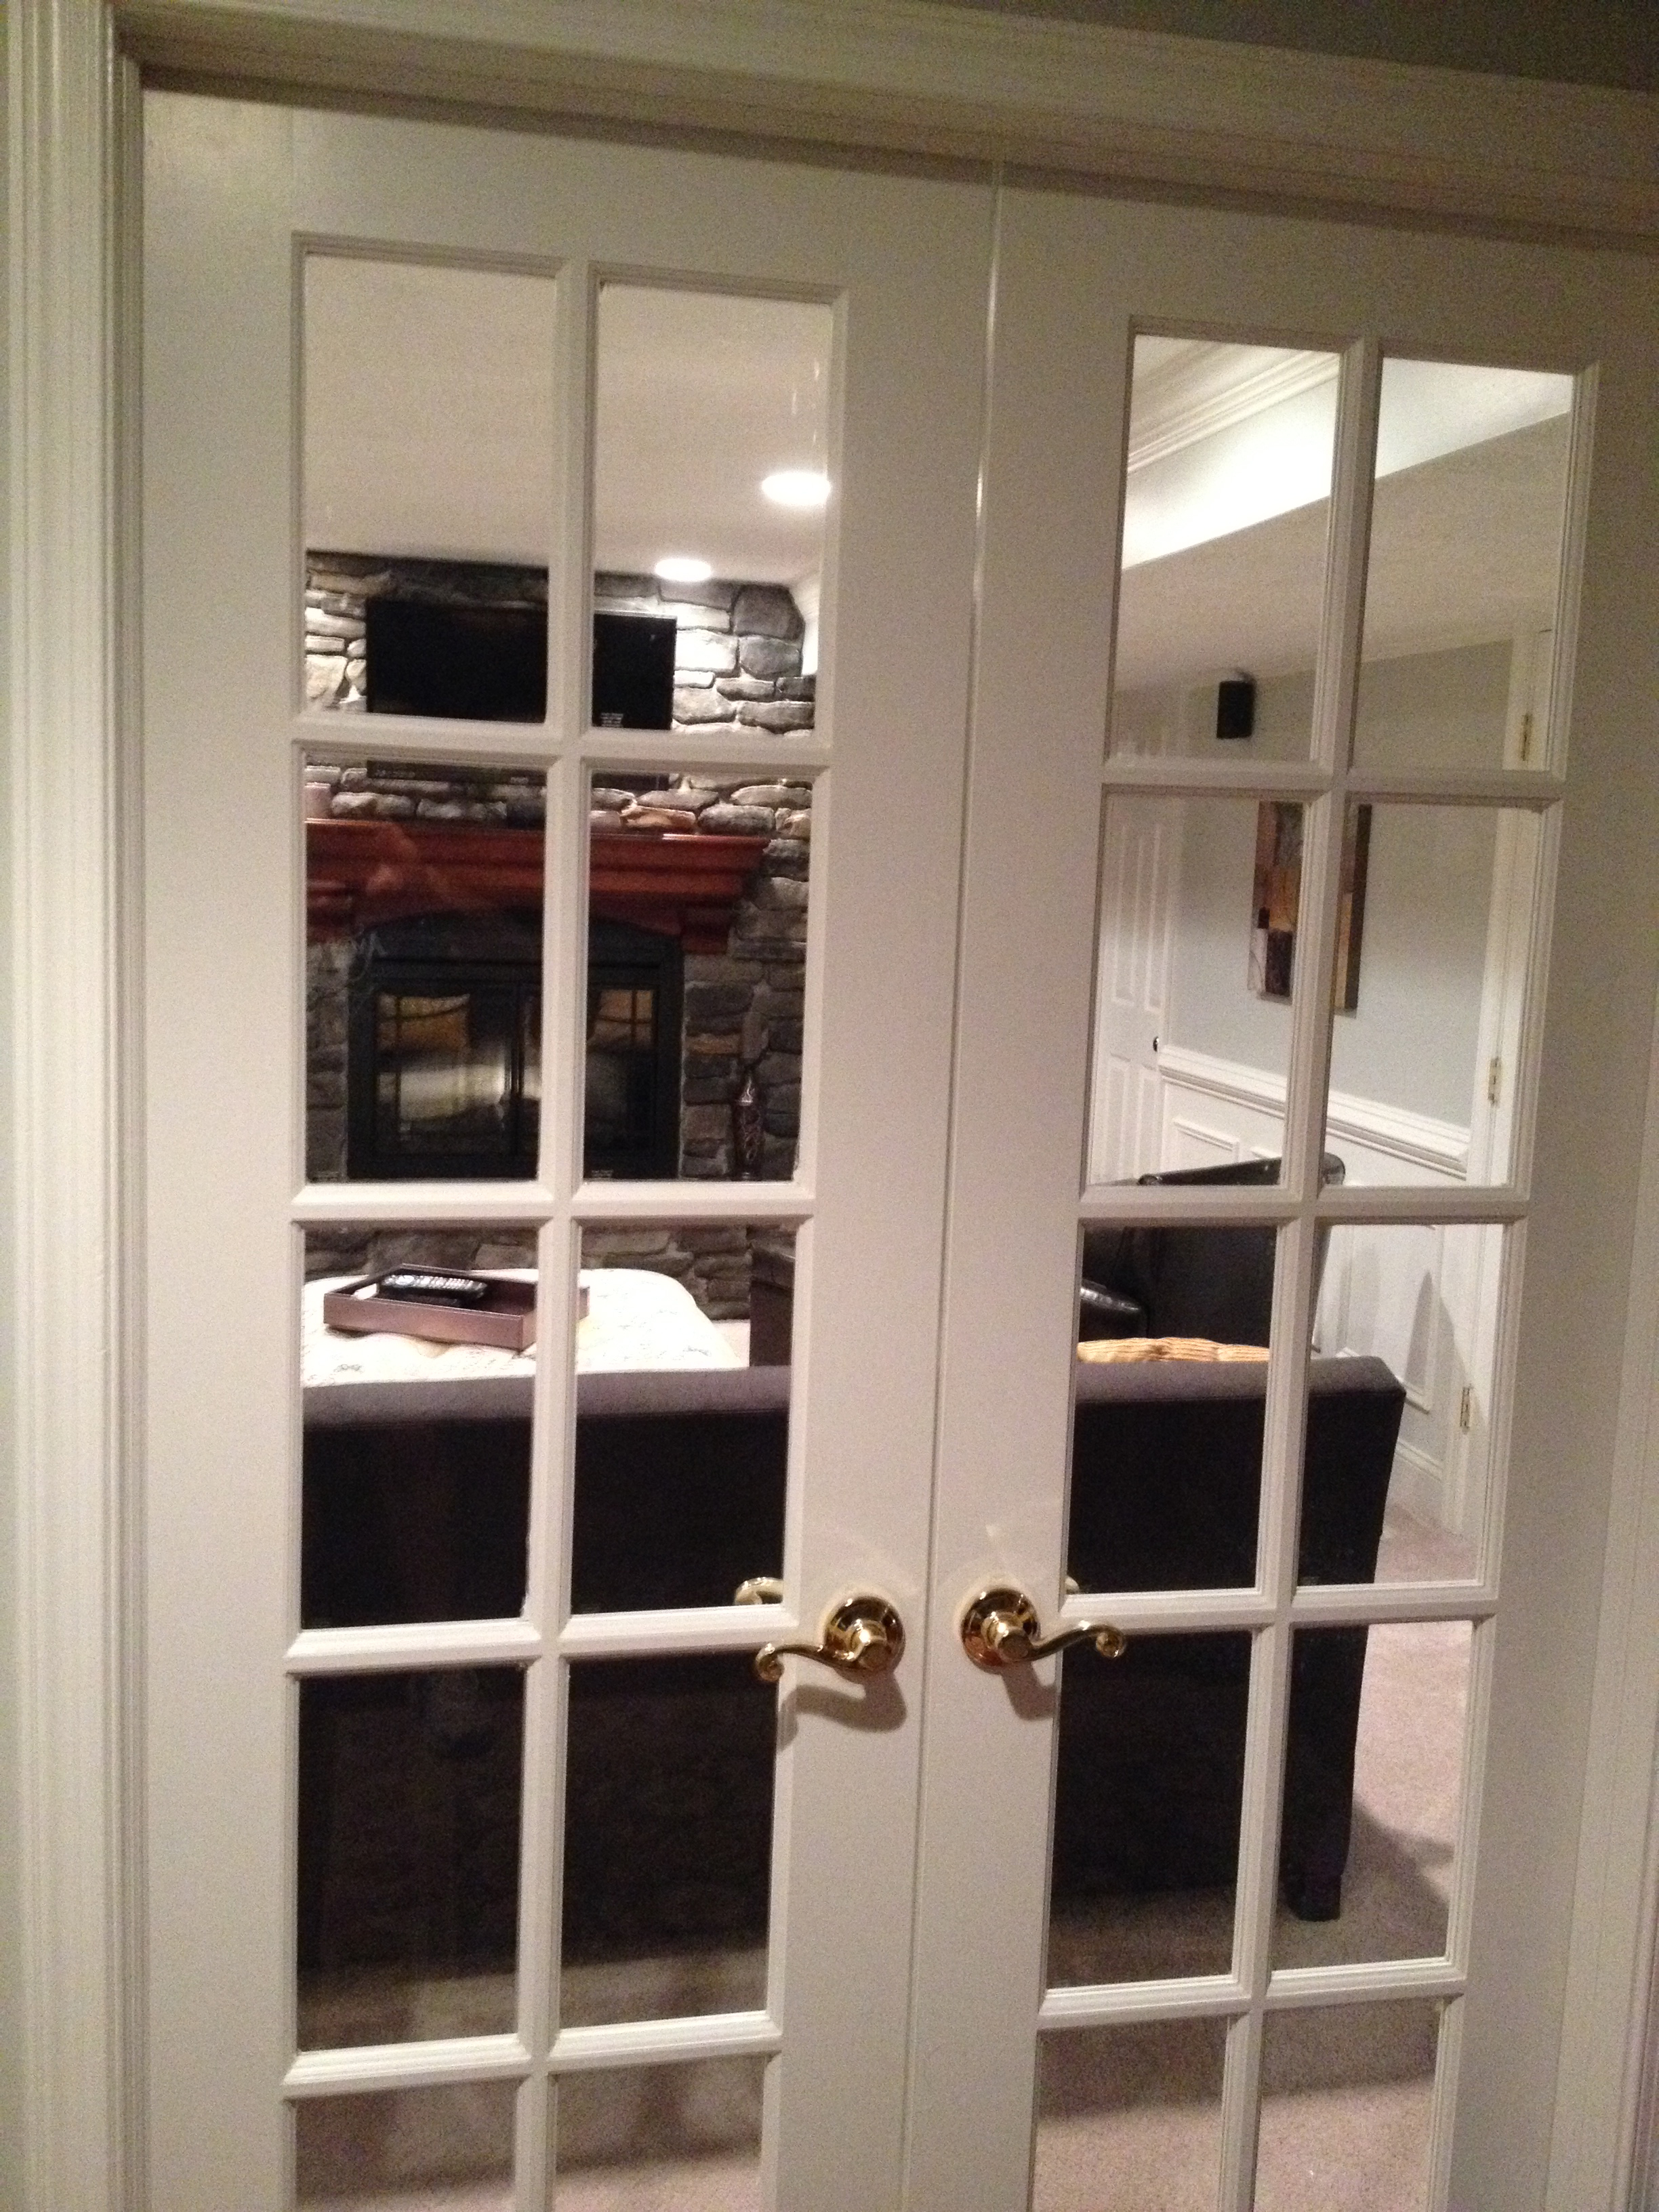
Step 6: Be put in a wall with a French door to separate the space from the rest of the basement.
Step 7: The finishing touch. To give the room a classier look we added enhanced chair rails, wanescot, and built up crown moulding with custom corner blocks. After painting the owner installed new carpet with an upgraded pad, furnished the room, and they were done. |